Coach House Gallery Exhibition
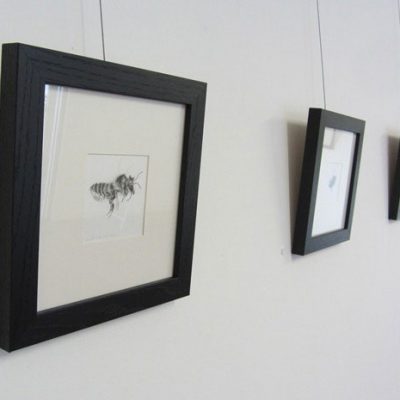
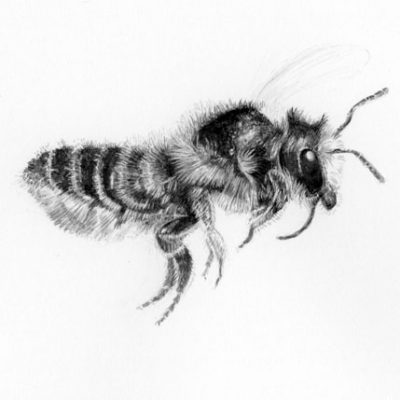
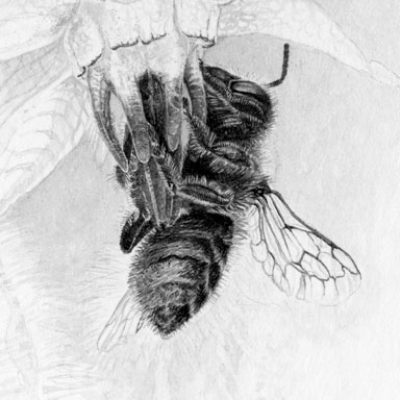
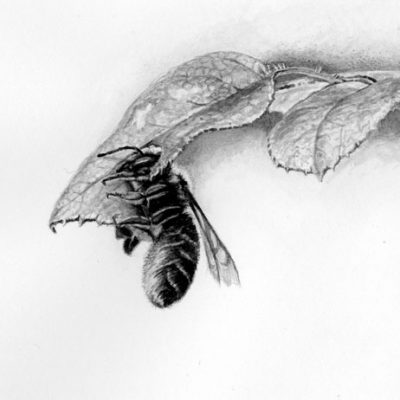
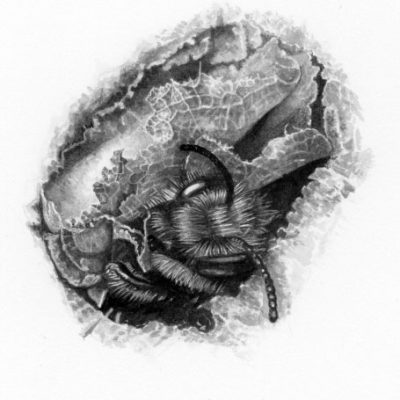
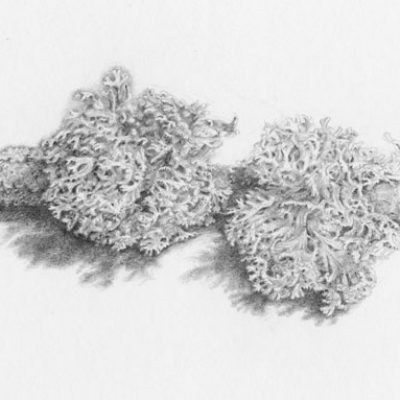
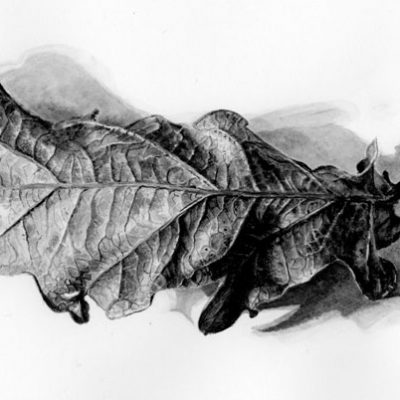
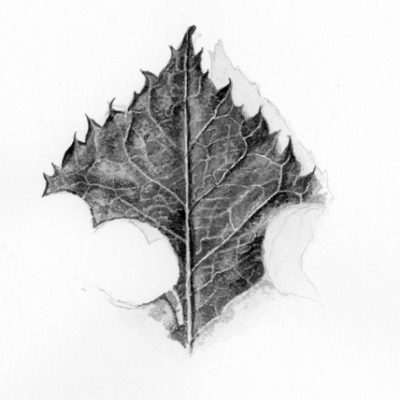
The exhibition of my Leafcutter Bee Drawings is now on at the Coach House Gallery, Edgbaston, B15 2RT. The exhibition runs until 29th April, so plenty of time to catch it if you are in the area. There is a special event, "Bugs, Bees, Plants and Trees" in the garden at Winterbourne on Saturday 20th April 2013, which may also be of interest. Entry to the Gallery itself is free. Above: Some views of the exhibition. I have provided magnifying glasses for a closer look at some of the details…
0 Comments
April 6, 2013